Proper Riding Form
by Mal – Sunday, 6. May 2018
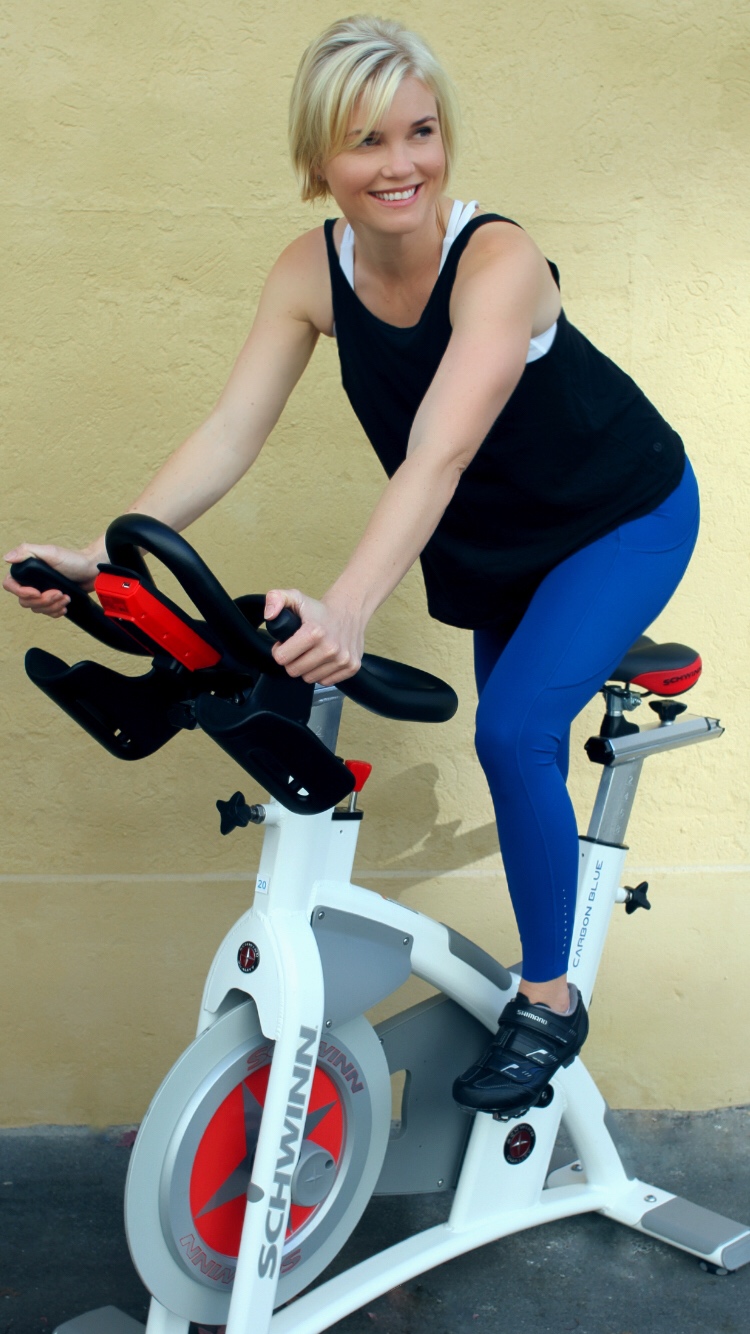
You might think there’s nothing special to riding an indoor bike. All you have to do is hop on and start pedaling, right? Some people may do this, but they’re not maximizing their results. To get the most out of an indoor cycle class without injuring yourself, it’s important to adjust your bike settings to suit your body, which we explain in this article about Bike Set Up (auch auf Deutsch).
In this article however, we explain proper form – something to keep in mind throughout the ride. Nailing down perfect technique will not only help you avoid injury, it’ll ensure you’re burning calories and building muscle (win, win). There are several elements that go into practicing good form on the bike that’ll help you sculpt and tone up muscles. You get more out of your workout when you’re able to engage several muscles at once, which is especially important in our Velobeat class.
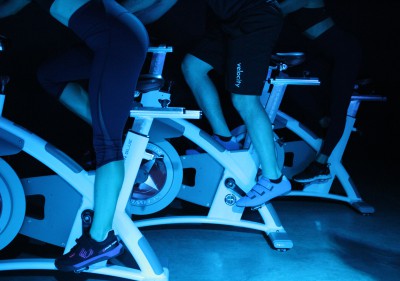
To ensure your riding effectively and maximizing your 50 minutes, read our tips below to spin for success:
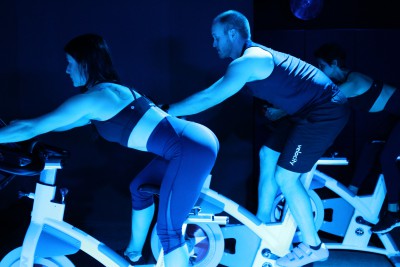
1. Back Straight
Your spine should be straight, not rounded or slumped (make sure your handlebars are high enough so you don’t feel neck or back strain). Your shoulders should be relaxed and down (meaning: they should not be up by your ears). Keep a slight bend in your elbows as you ride and keep your elbows in line with your wrists and your knees (no chicken-winging).
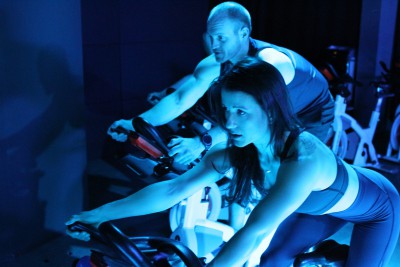
2. Hands Light and Butt Back
Try not to bend your wrists too much, to avoid placing unnecessary strain on them, and don’t grip the handlebars too tightly (you don’t want white knuckles). Ensure your weight is out of you hands and back in your legs. Your butt should be hovering just over the saddle, not in front of it.

3. Bend from the hips
Hinge forward at the hips and engage your abdominal muscles as you reach for the handlebars. Your knees should be aligned with your hips and your feet, whether you’re riding in a seated or in a standing position; if they flare out to the side, your seat position may need to be adjusted. If your butt is uncomfortable or sore after your workout, your positioning may be incorrect. Ask your instructor or a Front Desk Manager for some assistance before class.
4. Climb Effectively
Hills are all about working your body from head to toe with each pedal push. It’s normal for it to feel sticky and tough, but the resistance is actually going to help you improve your speed and agility when you run a sprint. It’s here, that you can not only push down with your body weight, but also pull up on the pedals as well. Not only because it’s safer, this is why we clip in! But ensure you keep your hips over the seat. Swaying from side to side can put unnecessary strain on your hip joints.
5. Use Resistance
Get the resistance just right. You don’t want to skimp on resistance — doing so makes your workout less effective and increases your chances of injury, especially during sprints. Never be at zero.
6. Hold up your head
If you let your head flop or fall forward as you ride, you’ll set yourself up for neck strain—and partially impair the flow of blood and oxygen to your head, which can cause lightheadedness or dizziness. Keeping your head in line with your neck and spine helps ensure proper breathing and a steady flow of oxygen to your brain, which can help you feel good and maximize your performance. An indoor cycling class is hard enough without increasing your chances of feeling winded unnecessarily.


Veloloco Partners 2025
/in Lifestyle/by CaseyKickstart Your Fitness Goals This Winter
/in Health, Lifestyle, Power, Rides/by CaseyHow to Avoid a Winter Workout Rut
/in Health, Lifestyle, Living in Zug, Living in Zurich, Power/by Casey