Bike set-up tips so you can crush your ride
by Mal – Saturday, 10. March 2018
We’ve all been there. You step into your first indoor cycling class, and you’re instantly intimidated. Dark room, loud music, and a tribe of pedaling legs that all seem to know exactly what to do. Yes, the Velocity team is there to help, but you may be wondering: “how can I quickly get into sync with the other Riders?” or “how can I advance my Ride to maximize the workout and the fun?” The Velocity ethos has you in mind. Each Ride offers an efficient, effective and fun workout for ALL levels. But, whether it’s your 1st or 200th Ride, there is always opportunity to improve. Our CEO, Mallory Nieman, provides some useful tips to ease the pressure of a first time Ride, and apply the science to your advanced Ride:
Arrive on time.
“I know, I know, I already sound like a nagging mom. But there is much we want to explain to you so that you can head into the Ride with the utmost confidence. Because we know you’ve got this!
If it’s your first Ride, take the pressure off by arriving 20 minutes before class. You’ll be sure to be first in the studio to take advantage of the setup time, ask for help if needed, and ensure that your first pedal strokes are feeling good.
As a reminder to all of you time-pressed Riders, if you are not signed in 5 minutes before the class starts, your bike may be given away to someone on the waitlist. All riders should be on their bike before the start of the class, because when the doors close, we won’t be able to let anyone into the class late. If you are running just a few minutes late, please call the studio for exceptions…just remember, being on time is a gift we give each other. Your instructor and your fellow Riders will thank you.”
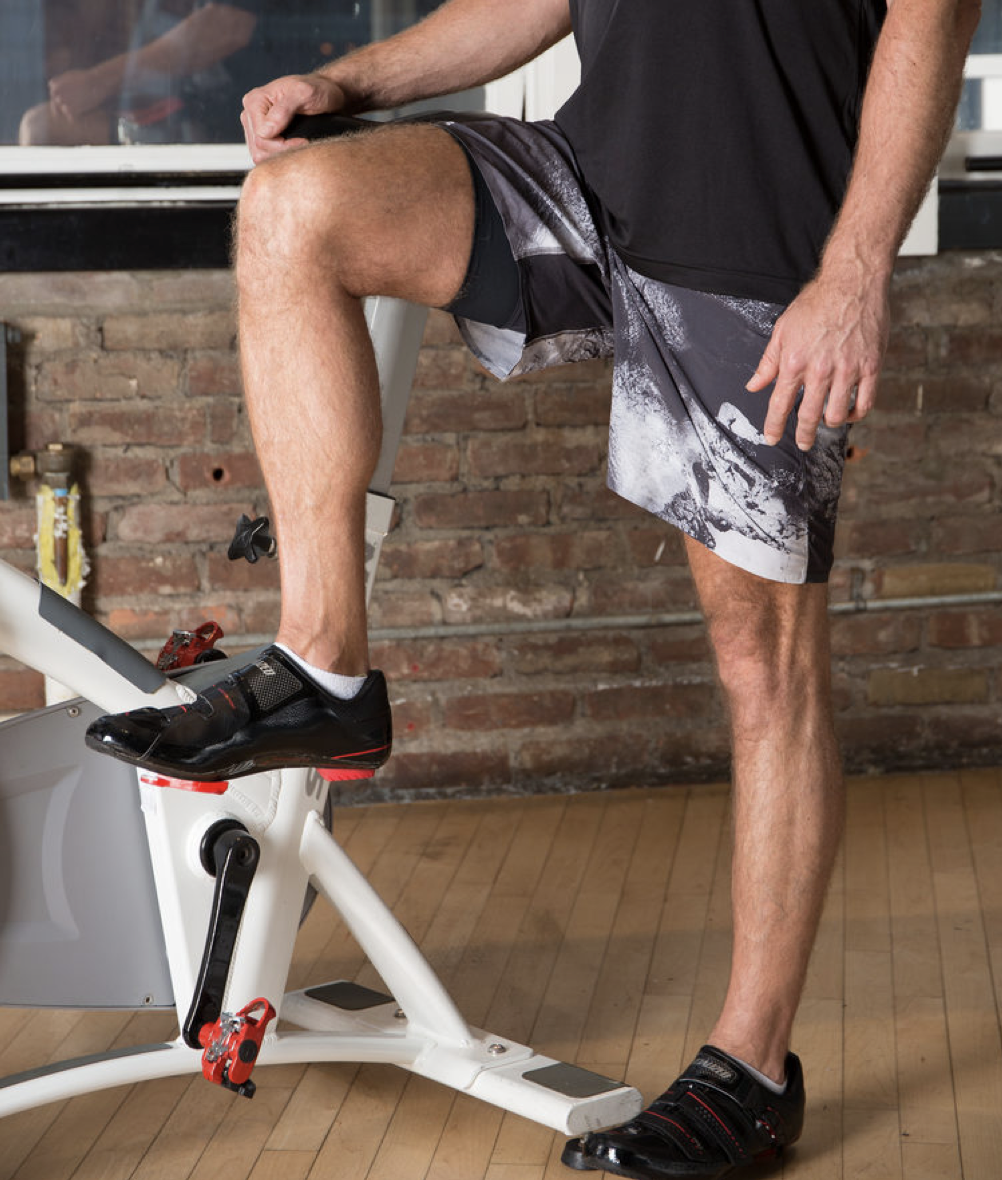
Bike Setup Tip 1: the saddle height should be even with your hip.
“Raise your leg so that your knee forms a 90-degree angle from the hip. Adjust your saddle (ie. seat) to be level or at the same height with the top of your thigh.”
Bike Setup Tip 2: When on the saddle and clipped into the pedals, your knee should have a slight bend
“Get on the bike and test your leg extension. Allow a leg to fully extend, so that the pedal is at the bottom of its rotation (i.e. 6 o’clock). Your leg should be neutral, not locked, with a slight bend at the knee and your foot flat. If you like to be geometrically precise, the ideal knee bend angle is 30 degrees.
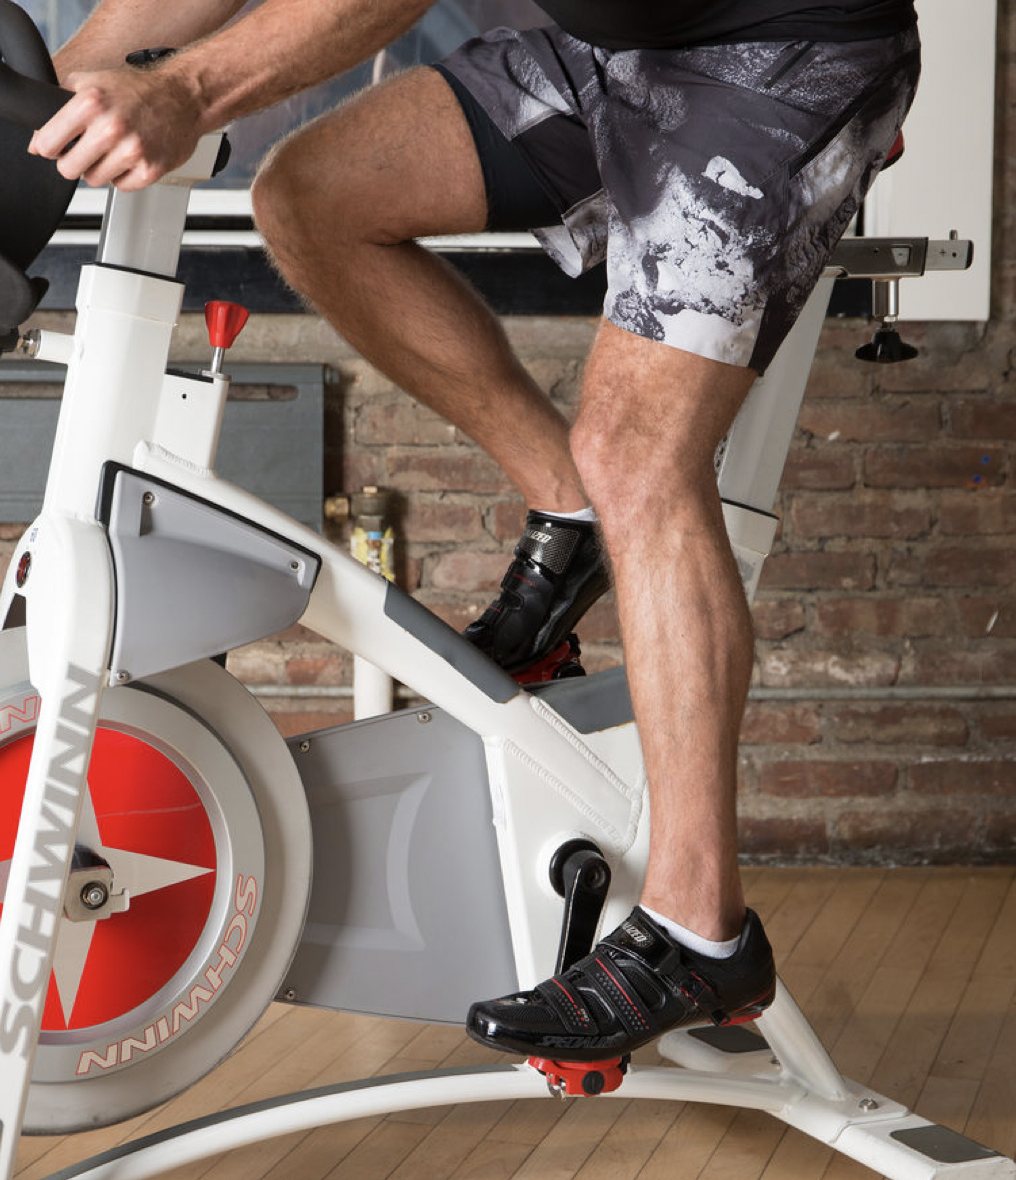
The nature of the Velobeat class suggests having the seat 1 notch (a half step) down, closer to a 35 degree knee bend, compared to a Veloburn class. In Velobeat, we spend more time out of the saddle doing choreography, so having the seat a bit lower ensures that your butt and your saddle do not connect with force.”
Bike Setup Tip 3: Adjust your saddle slide to maintain a ‘KDC’ position
“To keep it simple, KDC is the position of your knee when your crank (pedal) is at the 3 o’clock position. If your knee is obviously over your toes when in this position you are seated too far forwards. And the reverse is true. To adjust, slide the saddle forwards or backwards to ensure your knee is directly above the ball of your foot in the 3 o’clock position.
Luckily, one of the best aspects of indoor cycling is that it is low to no-impact, making it a great workout for people with knee problems. Take it from me: I’ve torn my ACL and fractured my Fibula in two separate ski accidents, and cycling has always been there for my physiotherapy and endorphin-addiction rescue.”
Bike Setup Tip 4: Your elbows should have a slight bend…listen up, advanced Riders!
“First, we assume that your saddle is in the right position. Next, make sure your handlebars are far enough away that your shoulders can relax and you have a small bend at your elbows. Slide the handlebars forward or backward to adjust. The height of the handlebars depends on how flexible your hips are and how strong your core is, so raise or lower them according to where you feel comfortable in and out of the saddle. Generally, the handlebars should be just slightly higher than the saddle, but we suggest having them a good 6-8 cm above the saddle in a Velobeat class.
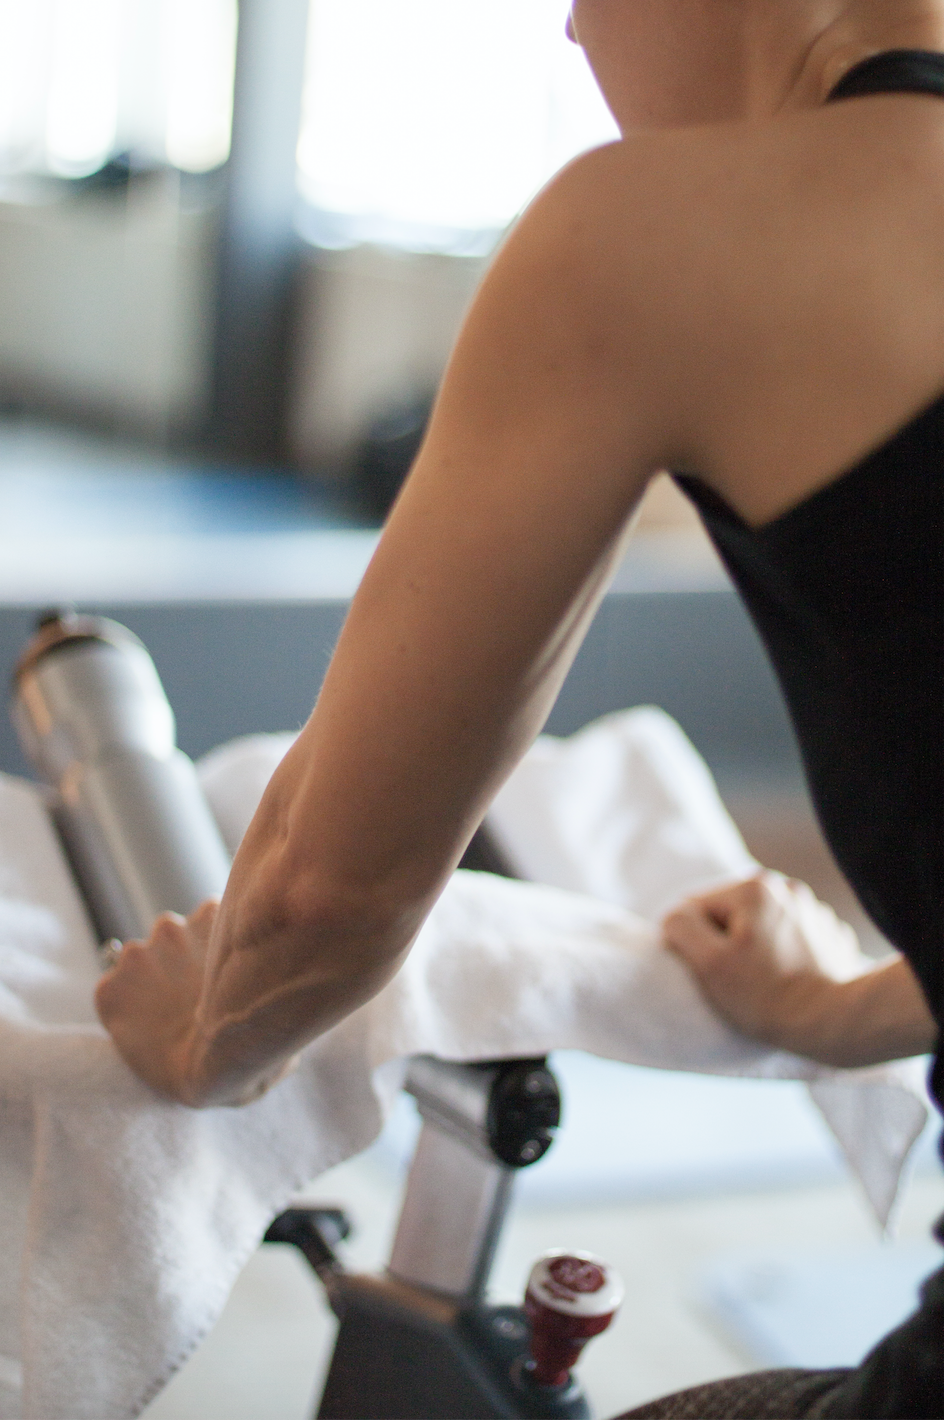
Over time, as your core becomes stronger and you’re better able to keep your torso upright, you can begin to drop the bars. But the handlebars are only to assist your ride. Your weight should always be in your legs, not your arms. If you have back problems or are pregnant, start with the handlebars closer to your seat and 10 cm above the saddle, which will force you to sit upright and prevent pressure on your back. Moreover, riding with good form will build core strength and flexibility.”
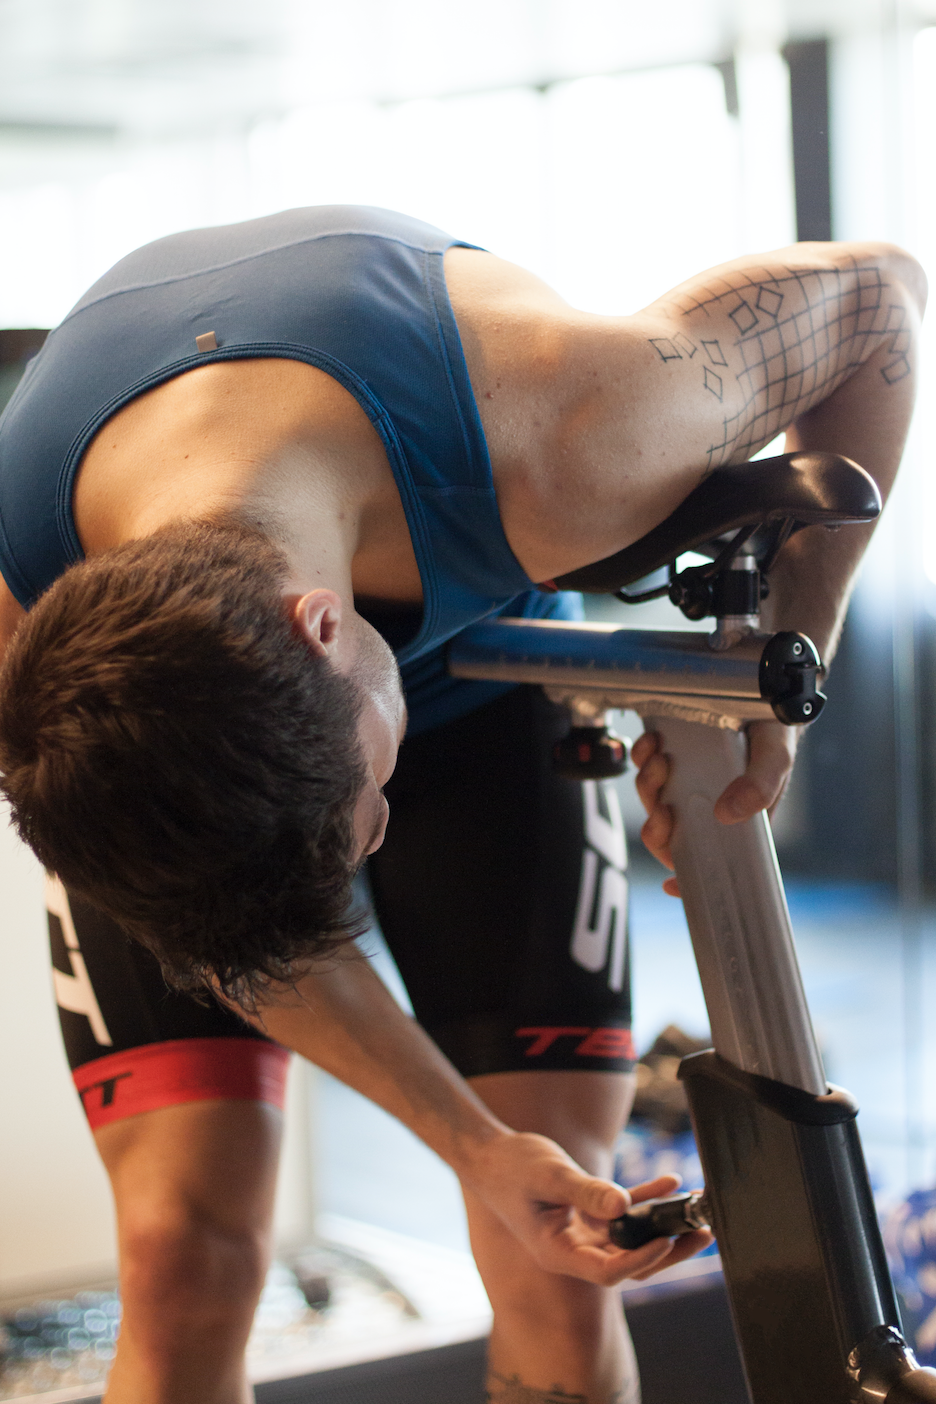
Bike Setup Tip 5: Lock it in…
“Make sure your bike’s knobs are tight and secure. I’ve seen it before, a person in class hastily sets up their bike and does not properly lock in the knobs to their handlebars or saddle. I always advise a double check of all knobs before you get going to prevent wobbly handlebars or saddle. If you are not sure, test it or raise your hand.
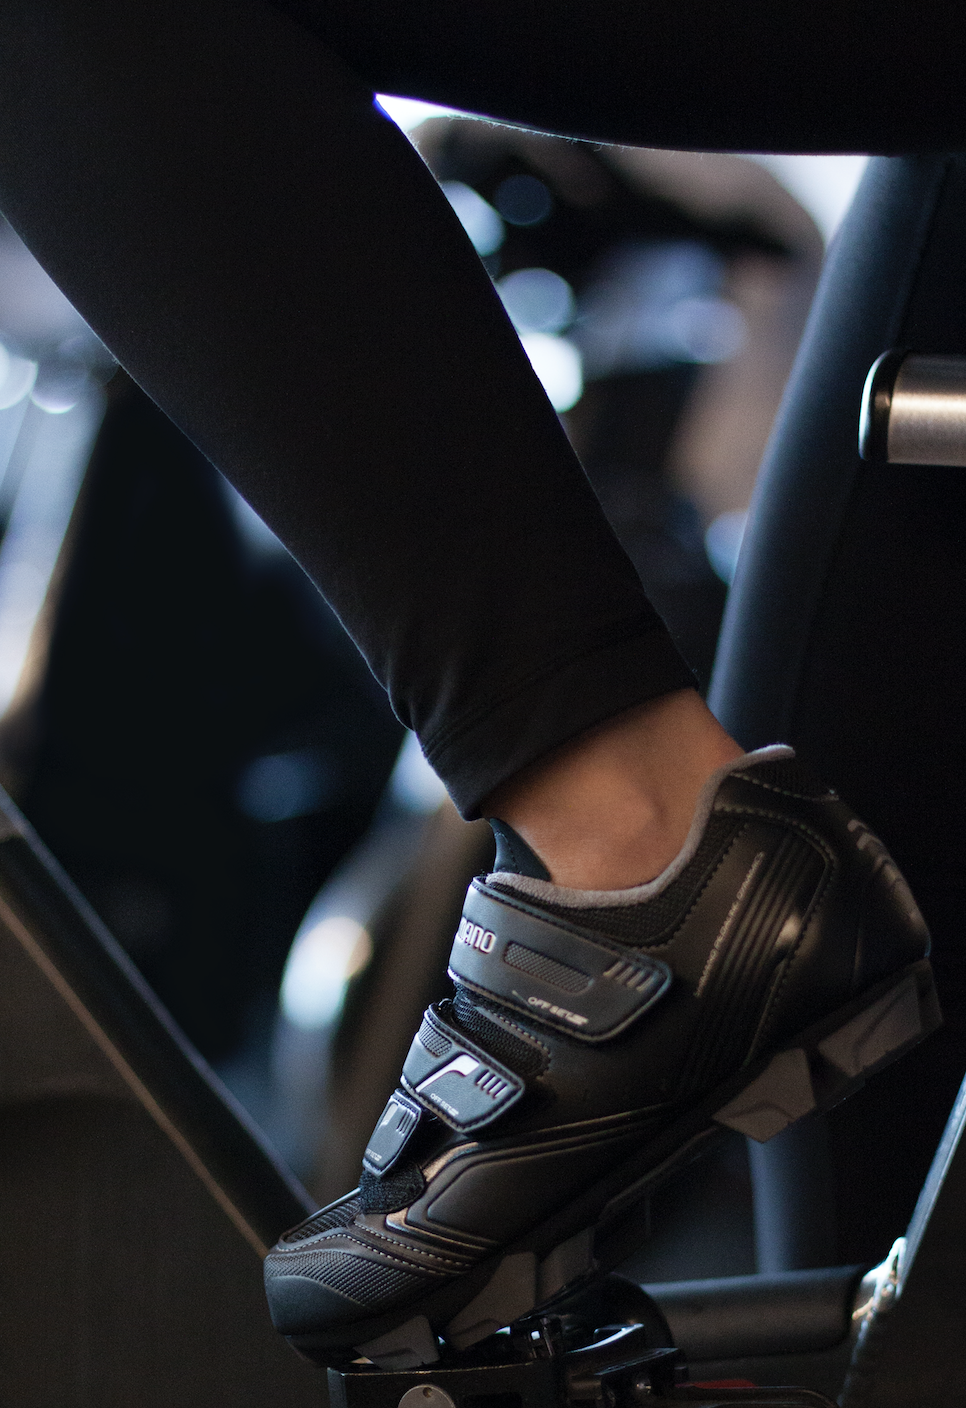
Bike Setup Tip 5: How to easily clip in and out of the pedals
“First, allow me to explain why we require clipping in at Velocity. Clip shoes will secure your shoe into the pedal and relieve pressure from the top of your foot. They also allow you to utilize your upstroke, rather than just pushing down on the pedals. It really makes a difference! Try pedaling clipped in with just one leg and you’ll believe me. Wearing clip-in shoes better engages a majority of your leg muscles, from quadriceps to hamstrings to stabilizers to calf muscles, and leads to a smoother and more powerful pedal stroke. If you find clipping in a bit scary, we promise that after one class, you will start to love the closer connection between the leg and the bike.

Now, clipping-in has a way of being annoying and even scary for every new rider…it was for me when I first started triathlon training. Fortunately, the Velocity bike is stationary and you don’t risk falling off of the bike. What I do see often in the studio is a new Rider wanting to quickly get going and struggles clipping in as they pedal faster and faster. I also see riders trying to kick their way into clipping in, hurting the shoes and their toes in the process. My advice here: relax. Take your time.
A common error: many new to clip-ins think the clip is further forward, closer to the toes. In fact, the position of the clip is closer to the ball of your foot. This is purposeful since it ensures that there is both safety and efficient power transfer.
5 Steps to easily clipping in:
1. Sit in the saddle (do not stand).
2. Push the pedal down to 6 o’clock (at the bottom)…optional: push and hold the red resistance button down to stop your pedal from moving; either side of the pedal will work.
3. Position your foot so that the ball of your foot is closest to the pedal (thus, the clip will be closest to pedal).
4. Dip your toes so the front lip of the clip goes down into the pedal and then press down through your heel.
5. Keep applying slight pressure (use some body weight if you want) and adjust the position of your shoe until it clicks. You’re in!
Of course, once you are in the pedal, you want to be sure that you can easily get out of the pedal. To unclip, you simply turn your knee in and your heel out, to twist your way out of the cleat.
What to do if you accidentally unclip while riding? This typically happens because the rider has a wiggly pedal stroke. Before the class starts, do a double check to make sure you are riding with your leg, knee and foot all in one straight line, without turning your knees or heels inwards or outwards. Otherwise, you risk coming out of the pedal mid-stroke. If you do un-clip mid-ride, push down on your red resistance knob. This is your emergency brake, and will stop your legs immediately.
Now you are Ride Ready. If you are still unsure, the instructor is there to help you out – and I encourage you to flag him or her down. I understand that sometimes you’re just feeling shy, and you decide to hop right onto the bike and pray for a miracle. Not only is proper bike set-up crucial to a killer ride, it’s vital to your safety. One of the most important things you can do to keep your Ride safe happens before the class even starts, and it only takes a few minutes. Follow the above steps for proper bike setup, ensure that you’re properly fueled (see article, only in German: velocityswitzerland.com/vor-oder-nach-dem-sport-essen) and I promise, you’ll be on your way to spinspiration in no time.
See you on a bike!”


INSTRUCTOR SPOTLIGHT: AARON
/in Health, Lifestyle, Rides/by AdminInspirational Swiss Food Blogs
/in Health, Lifestyle, Living in Zurich/by AdminHow to Avoid a Winter Workout Rut
/in Health, Lifestyle, Rides/by Admin